How to DIY Float Mount and Custom Mat your Art and get an Amazing Custom Look for Less!
- ramee6
- Nov 19, 2019
- 5 min read
Updated: Dec 23, 2019

When on our recent Honeymoon to Patagonia (the Honeymoon itself is a whole series of posts yet to come) we wanted to bring back a tasteful memento that we could incorporate into our home decor. There is nothing better than the actual experience of travelling, but to have reminders of your travels and adventures in your home keeps those moments alive and makes your home decor that much more personal and eclectic. And hey, they can also be the best conversation starters!
We bought this awesome vintage style graphic poster that depicts the place that makes the Torres Del Paine National Park famous, The Towers Base. It also happens to be one of the most advanced full-day hikes in the Park, and was our last and anticlimactic hike of our Honeymoon.

We had to wait until our last day for the weather conditions on the Towers Base to be clear and safe. We hiked with our guide and small group and made it 80% of the ascent to come up against a snowstorm at the summit, which was making it quite an arduous and slippery climb on the ice and snow covered rocks. Without ice cleats for our boots, the guide had to make the call to turn around. We may have slowly made it up to the top, but would not be able to see anything but white once we got there, and then would have not been able to get down safely and before dark. Needless to say it was disappointing, but it was a classic Patagonian adventure of all weather conditions. According to my Fitbit we still hiked 35,847 steps, 15.66 miles, 379 flights of stairs, and over 3000 foot elevation gain. And to make it even more dramatic, I managed to get altitude sickness from this hike and compounded with the multiple flights home the next day.
So I guess this poster has so many stories to tell!
Sorry for the DIY digression. Let's get back to telling you how I leveled up a store bought frame by float mounting this vintage print, backed it with luxurious linen and made it look like a super expensive custom piece!
It started because this vintage style print happens to be large format. But you can use my technique for art and frames of all sizes. Because of its large and odd size we couldn't find a frame that either fit it perfectly, or fit without trimming the top or sides, or without needing a custom mat.
First thing we did was search for the ready made frame sizes that were larger than the print. The important thing to consider is finding one that has nice proportions of space left around the print and the inside of the frame. For this technique I think you should have at least 1.5" so that you can see the detailing. With the ideal frame sizes available, you want to select a nice frame profile and finish that complements the print itself and your home decor. We found this flat profile frame with soft warm gray wood finish from Michaels.

Right now Michaels is having an Online 50% off - Buy One Get One Free sale, but if you are looking for a larger size like mine it isn't available for shipping.
I subscribe to their mailing list and get coupons between 40-55% off one item, and that is how I purchased mine for 50% off.
I don't often get to the store with the closest one being 40 minutes away, but when I am there you can see me searching my phone email folder for Michaels, and have lucked out to often find a valid coupon for at least 40% off of my most expensive item. Score!
FYI, the only annoying thing with this frame is that it has two d-rings on the back but didn't include the picture wire. Luckily I always keep a roll of picture wire in my art hanging toolbox. (Do you have an art hanging toolbox? It's not only handy for me, but perfect and professional for client installations!)
Now, I didn't take pictures of the process unfortunately, but I think I can walk you through the easy steps.
Supplies:
- Any Art print or photo
- Store bought frame (larger than art and nice proportions between art and inside of frame)
- Fabric remnant (slightly larger than frame backboard)
- Spray adhesive - I used 3M Super 77
- Self-Healing Cutting Mat - like this
- Rotary Fabric Cutter - like this
- X-acto knife
- Straight edge
- Artist tape (but in a pinch, painters tape....that's what I used)
- Necessary art hanging supplies for frame
Steps:
1. Detach the back panel of the frame.
2. Remove the label paper and the cardboard filler panel ( you will need the cardboard!)
3. You need a piece of fabric of your choice to cover the back panel that complements the art and the frame. Layout the backboard and lay the fabric over top (if there is a pattern or stain to consider then shift accordingly), and then trim the fabric slightly larger.
*You don't need to be perfect with the cutting because you will trim it nicely later!
ModernBoho Mom Tip: Try to shop your home first for fabric pieces! Do you have some stained table linens you don't really use anymore, older bedding with some wear, or fabric pieces from other projects that suit the art and frame? They can be re-purposed here, and you can be a little kinder to the world at the same time. :)
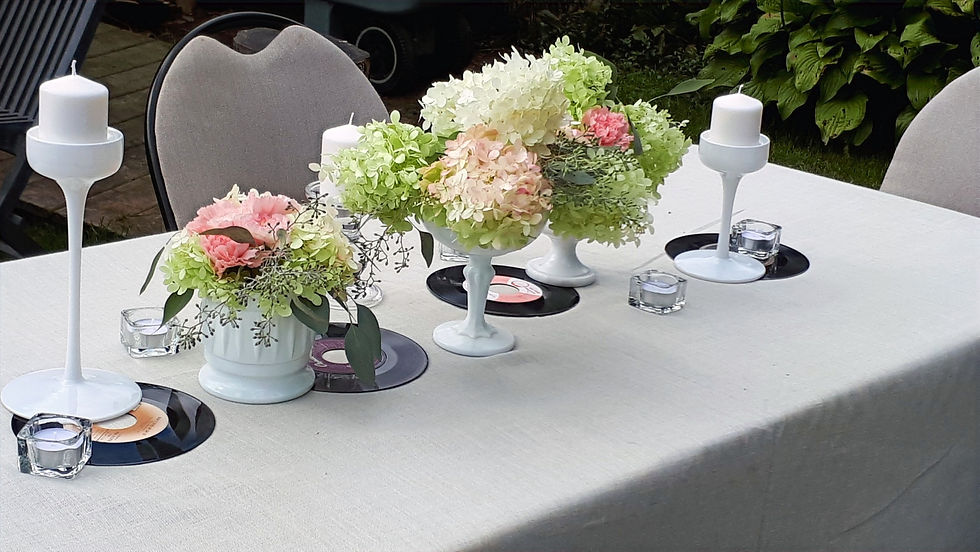
I used a fabric piece I not only already had but it was a linen sheer remnant that we used for our backyard wedding tablecloths (seen below). They were marked and stained in the end, so I worked around the marks, and still saved other pieces to use for future projects. Not only does the fabric and colouring work perfectly with our art and frame, but it gives this artwork even more personal meaning!
4. Spray adhesive the fabric onto the front of the backerboard. *Make sure you are in a well-ventilated area...we did it outside*. If you can get some help holding the fabric and laying it down it is much easier, especially when it is a larger piece. You do have a short window for adjusting for any big wrinkles, and then just smooth the fabric towards the outside.
5. Take the cardboard filler panel and cut it 1/4" smaller on each side than your print, so 1/2" less width and height than your art. Use the cutting mat and an x-acto knife. It can be a bit difficult getting a clean edge because of the corrugated grooves, but it won't matter in the end.
6. Use artist's tape or painters tape to secure the art to the cardboard allowing for the overhang on all sides.
7. Trim the fabric on the backerboard by placing it fabric side down on the cutting mat and use the rotary cutter. It is super easy with the backerboard as a guide.
7. Use the artist's tape or painters tape to secure the cardboard to the backerboard.
8. Reassemble the frame with the art.
9. Hang on the wall, and Voila!
The end result is a gorgeous fabric backed float mounted artwork, making a store-bought frame job look custom and designer detailed!


What do you think? Is it something you think you would try? Do you already have a framed art piece in your home that could use that extra something? It may be just the thing to transform it from ho-hum to wow and you probably won't need to climb a mountain at the bottom of the planet to find it - but if you can, you totally should ;)
If you give it a try please share with me! And I would love to hear your comments :)
Your Designer and ModernBoho Mom,
Ramee
xo


https://soicau247.com/dan-de-10-so-nuoi-khung-5-ngay.html mình lướt qua vì thấy mọi người nhắc hoài, bấm vào xem thử giao diện sao. Không ngờ trang nhìn khá thoáng, chia từng khối rõ ràng nên kéo xuống không bị rối. Mình để ý ngay phần tiêu đề nói về dàn đề 10 số nuôi khung 2, 3, 5 ngày, bên dưới có mục lục để nhảy nhanh nên đỡ phải cuộn mỏi tay. Chữ với bảng biểu trình bày vừa mắt, không bị dồn cột sát nhau như mấy trang khác. Nói chung ai chỉ muốn xem nhanh thông tin thì ổn, vì các heading và khối nội dung được tách ra rõ, nhìn phát biết đang ở đoạn nào trên trang.